


Understanding the method of notching a tree is crucial for conserving the wood and avoiding damage to nearby buildings or structures when felling the tree. It’s also essential for ensuring the safety of you, the person cutting the tree. Additionally, it helps protect your cutting equipment and allows you to direct the entire process of cutting down the tree in your chosen direction.
There are seven key steps to notching a tree:
- Inspect the tree
- Clear the area for felling the tree
- Examine the tree for leaning tendencies
- Make a flat cut
- Follow it with an angled cut
- Clear the notch
- Cut opposite the notch
As vital as notching a tree for cutting is getting the tools you will need for the job. You must protect yourself from such a task, and this article explains what you will need and the steps involved in the process.
What we cover
Toggle7 steps to notching a tree
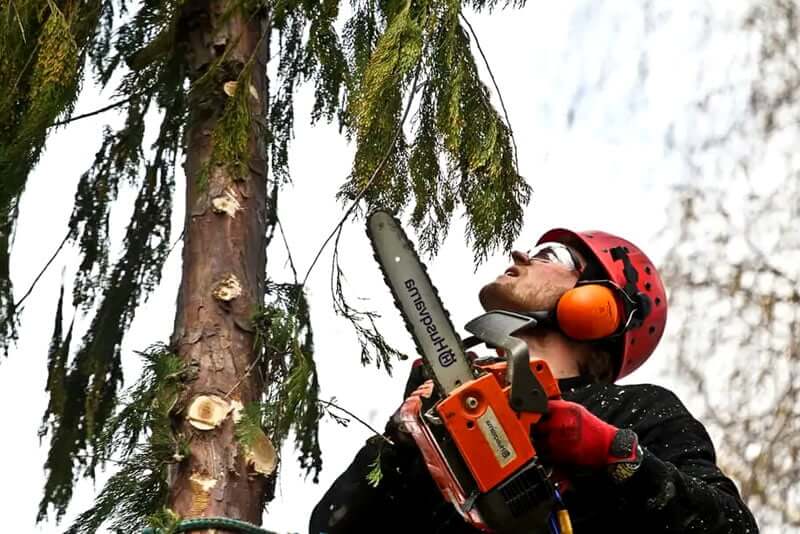
Before starting to notch a tree1 for the purpose of felling it, it is crucial to get your work tools and gear together. Some of the tools, materials, and protection gear you will need to keep you safe from possible accidents during the job include:
- Long-sleeved shirt
- Sturdy work boots, preferably the steel-toed type
- Strong pants
- Work gloves
- Safety goggles
- Protection for your ears
- Hard work hat
- Chainsaw
- Felling wedges
- Rope
- Ladder
Ensure you get a chainsaw that functions well, is well-oiled, and is maintained. You may have to buy a new one if you do not already have it or look to hire from a hardware store. Additionally, get someone to help you notch the tree, especially if it is for the purpose of felling it.
Step 1: Inspect the tree
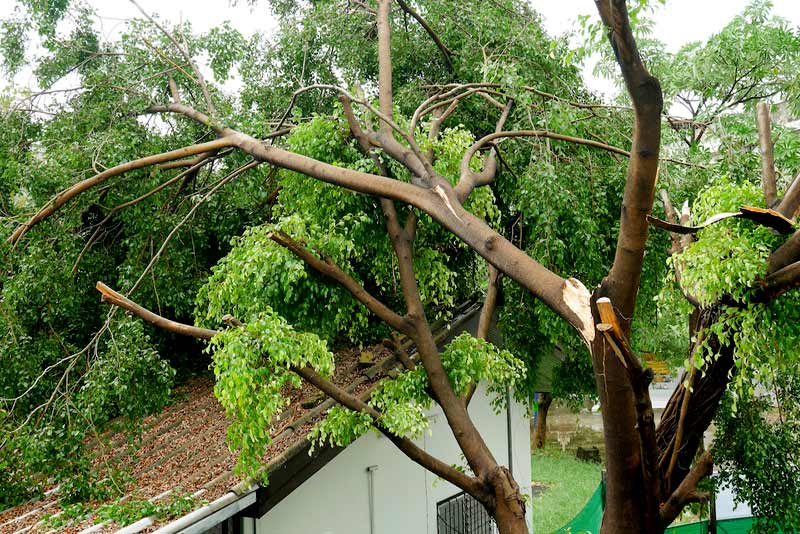
The first step in notching a tree is to check the environment and the direction in which the tree leans. When you notch a tree for felling, it must fall in a clear path to avoid causing damage to any building, power lines, or other nearby structures.
If the tree is exceptionally tall or has heavy branches at the top, you need to cut off the excess branches or reduce their height. That is where a ladder becomes vital.
Leaning trees, which are dead or tired trees leaning on other trees, must be carefully cut to promote safety. The reason is that poor calculation may cause the leaning tree to put its weight on a neighboring tree, bearing it down, and causing a domino effect. This is dangerous to you and other people in the area.
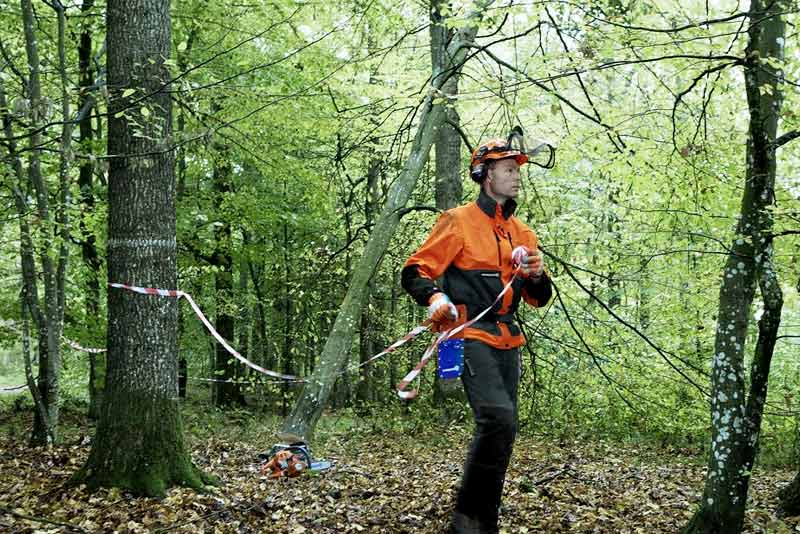
Step 2: Clear the area
The next step is to ensure the felling area is as unobstructed as possible. There are some things you cannot change or move, such as buildings and other permanent structures. For these, you must follow strict measures to avoid felling the tree in the direction of the facilities.
Remove moveable objects such as cars from the felling area. If people, tools, and pets are around, take them to a place far from the work area for safety. Ideally, only people directly involved in the job should be in the area. And vehicles should be parked some distance from the trees.
Step 3: Check leaning tendencies
A straight tree is pretty straightforward to notch. All you have to do is follow the steps above before making the first notch. But if the tree for felling is a ‘leaner’, the process becomes a little complex. Naturally, a leaning tree wants to fall in the direction it leans. However, it is not always convenient to go in that direction. Therefore, you must take some precautions.
You can use felling wedges to correct the lean of the tree before cutting it. And if the tree is large, cut heavy branches from the top before making the first notch. Reducing the tree’s weight by cutting heavy branches makes leaning corrections easier. Nevertheless, you do not have to do it yourself, especially if the lean is too heavy. Call an arborist for further assistance.
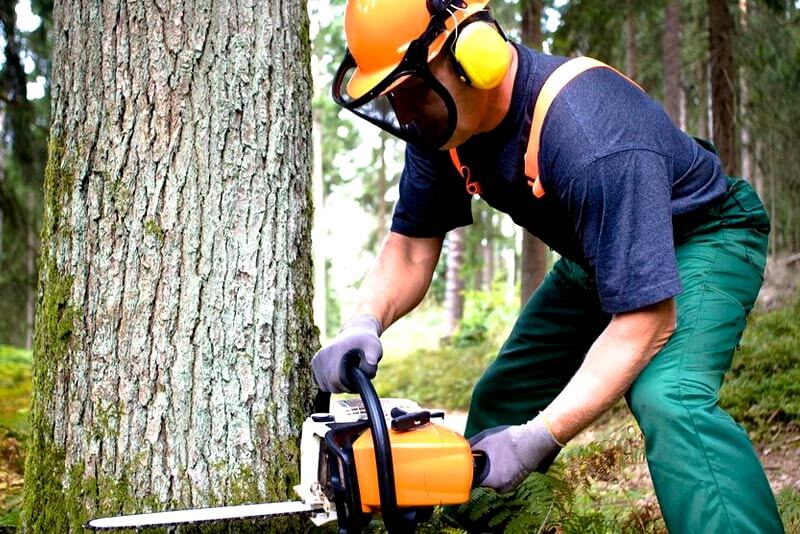
Step 4: Make a flat cut
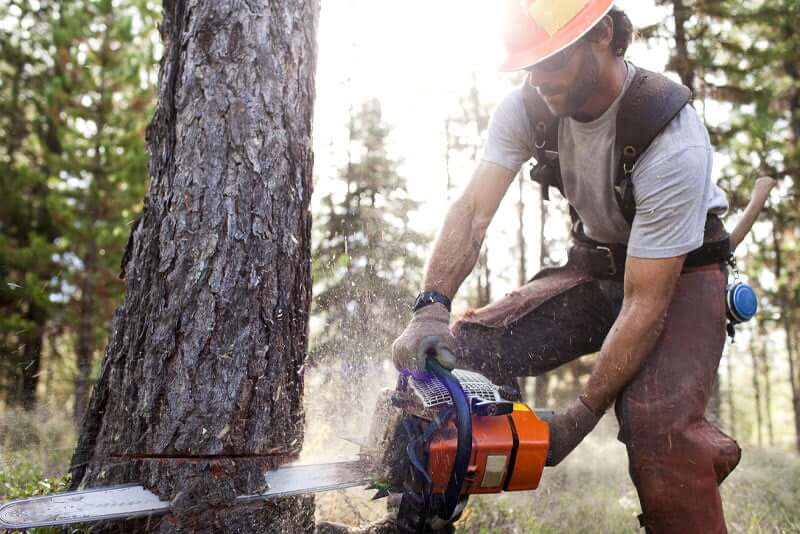
Get a chainsaw and make a flat cut to begin the notching process. The cut must come at a point between the height of the waist and the ankle on the tree, and it must be parallel to the ground. Also, the cut must go about one-third or one-fourth through the tree’s trunk.
Note that the tree will fall in the direction of the side where you make the notch. Therefore, ensure the flat cut is on the side where the tree should fall. That is why the path must be clear before making the first notch. And stop when you cut deep enough according to the measurement – one-third or one-fourth through the trunk. Do not go further than this depth.
Step 5: Follow it with an angled cut
The next step is to make an angled cut above the flat cut. Choose a spot on the tree’s trunk a couple of inches higher than the first cut and make a 45-degree angle cut. The aim is to merge this second cut with the back of the first one. Your chainsaw will help you make the correct angled cut. Ensure the cut slants downward to meet the flat cut but only at the back.
This second cut must be the proper depth; it cannot be too deep or too shallow. If the depth of the cut is wrong, the notch will not work. And this can make the tree fall in any direction, not the path prepared for it. Some loggers may prefer other tools for this angled cut, but a chainsaw is the best bet for a correct cut.
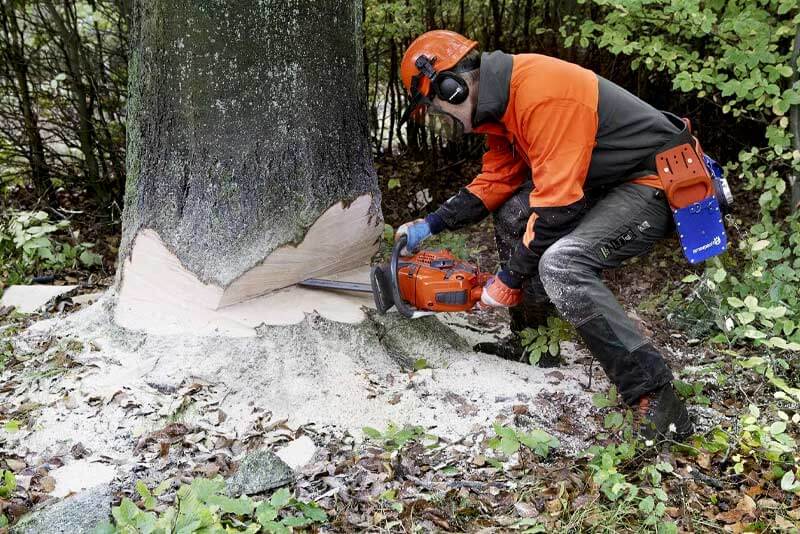
Step 6: Clear the notch
Now, clear the notch after making the correct cuts. When you make a fat cut and an angled one above it, it leaves a piece of wood between them. That wood is called a notch; remove it to make for easier tree felling. However, a tiny bit may still hold the wood in place, as you may find in your case.
That means the two cuts do not entirely meet, so use the chainsaw to deepen them until they meet. When they do, the notch should easily come free of the tree. But if the chainsaw seems too much to use in your case, an ax or a sledgehammer may work. Use either of them to loosen the wood and remove it. You should have the correct notch on the trunk.
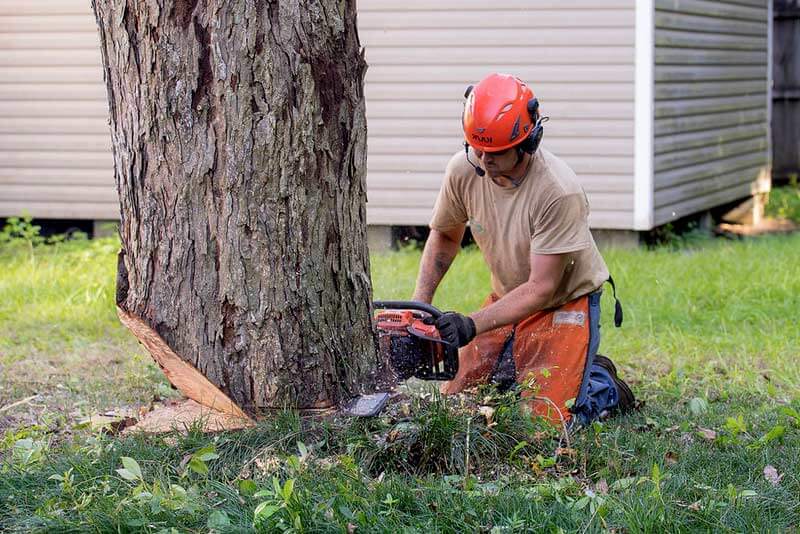
Step 7: Cut opposite the notch
This last step may not apply if you are not immediately ready to cut the tree. However, the primary reason for notching a tree is to cut it, and once notched, the tree becomes unstable; it may fall without much persuasion. Therefore, it is best to cut it yourself to control the direction it falls.
You must cut in the opposite direction of a notched tree. In other words, cut from the side of the tree without a notch. Make a cut about five centimeters or two inches above the bottom of the notch, but this cut should not meet the notch.
Stop cutting when there are about two inches of wood between the notch and the cut. A properly notched tree should fall on its own, but cutting through to the notch may cause an unpredictable fall.
Precaution: Do not stand behind or in front of the tree while cutting. The reason is that the tree may fall at any point while you are still making the felling cut, and you may put yourself in danger by standing on the wrong side.
Types of tree notches
The following are the three types of notches that work for felling a tree:
1. Humboldt notch
The Humboldt notch is standard, where the base cut slants upward, and the top cut is horizontal. It does not work for trees that lean because the kickback you find over the stump is usually bigger. Nevertheless, it helps to save a good amount of wood.
2. Conventional notch
This notch is where the base cut is horizontal, while the top cut is at an angle. It is typically named because of its popularity among tree loggers and evacuation specialists. It is fast and safe, allowing a certain amount of accuracy in the process.
3. Open-faced notch
This type of notch is typical where there is a need for precision and accuracy. If you want to cut a tree with buildings and other structures, you need an open-faced notch. The base cut is typically at a 20-degree upward angle, while the top cut is at a downward angle of no less than 70 degrees. The notch looks like a sideways V or an open-ended triangle when the wedge of loose wood is removed. There may be a further need to make a flat cut at the back of the trunk to meet the V’s point.
How big should a notch be?
The notch you make on a tree should not be bigger than one-third or one-fourth of the tree trunk’s diameter. That is how professional arborists make notches for the best results. If you cut too deep into the trunk, the tree may prematurely fall. And when making such a fall, it may go in an unpredicted direction, which may be dangerous on a large scale.
If the cut is too shallow, it may be challenging to achieve the ideal notch, making cutting the tree too tedious. Therefore, it is best to follow the recommended notch size, regardless of tree size, but it typically works best for large trees.
Ideal shape of a tree notch
The notch you make on a tree should be triangular when the purpose is to cut it. That is why you make two cuts; one cut must be flat, and the other must be angled. That way, the bottom of the triangle is flat to ease the tree’s falling.
It must not be a perfect triangle, but if you follow the correct procedure, the flat and angled cuts must create a triangular shape near the base of the tree. It requires some training to make a precise cut where necessary, so you may need external help, especially if you have never notched a tree.
Importance of notching a tree
If you want to cut a tree, notching is one of the most crucial steps. This is especially necessary for areas with houses and other permanent structures. A tree notch helps you control and dictate the direction in which the tree falls. In other words, a tree notch creates a natural direction to guide the tree in the safest path to fall.
Notch a tree on the side facing the area you have cleared for its fall. And when cutting the tree, do not put yourself in the way of danger; stand by the side of the tree without the notch. You may consider cutting a tree without notching it when working in a clear area. However, it is unsafe because the tree may fall in any direction. This is especially true for large trees.
Other purposes of notching
You can notch a tree to encourage bud growth. Notching, in this regard, is making a small cut into a tree’s bark, just above a bud you want to improve its growth. Making this cut above the bud controls how suppressant hormones flow to the bud to encourage its growth.
Cut using a sharp knife, and do not cut deeper than one-third of the trunk. It cuts off suppressant hormones to allow growth hormones to flow to the bud from the tree’s root. This is opposed to nicking, where you cut the bud to cut off growth hormones from the root and allow growth-suppressing hormones to flow to the bud.
- Mike S, (2023) How Do You Notch a Tree to Cut It Down? <https://peppershomeandgarden.com/how-notch-tree-cut-down/> Accessed: 06-03-2024


